Halloween Graveyard Dirt Cups
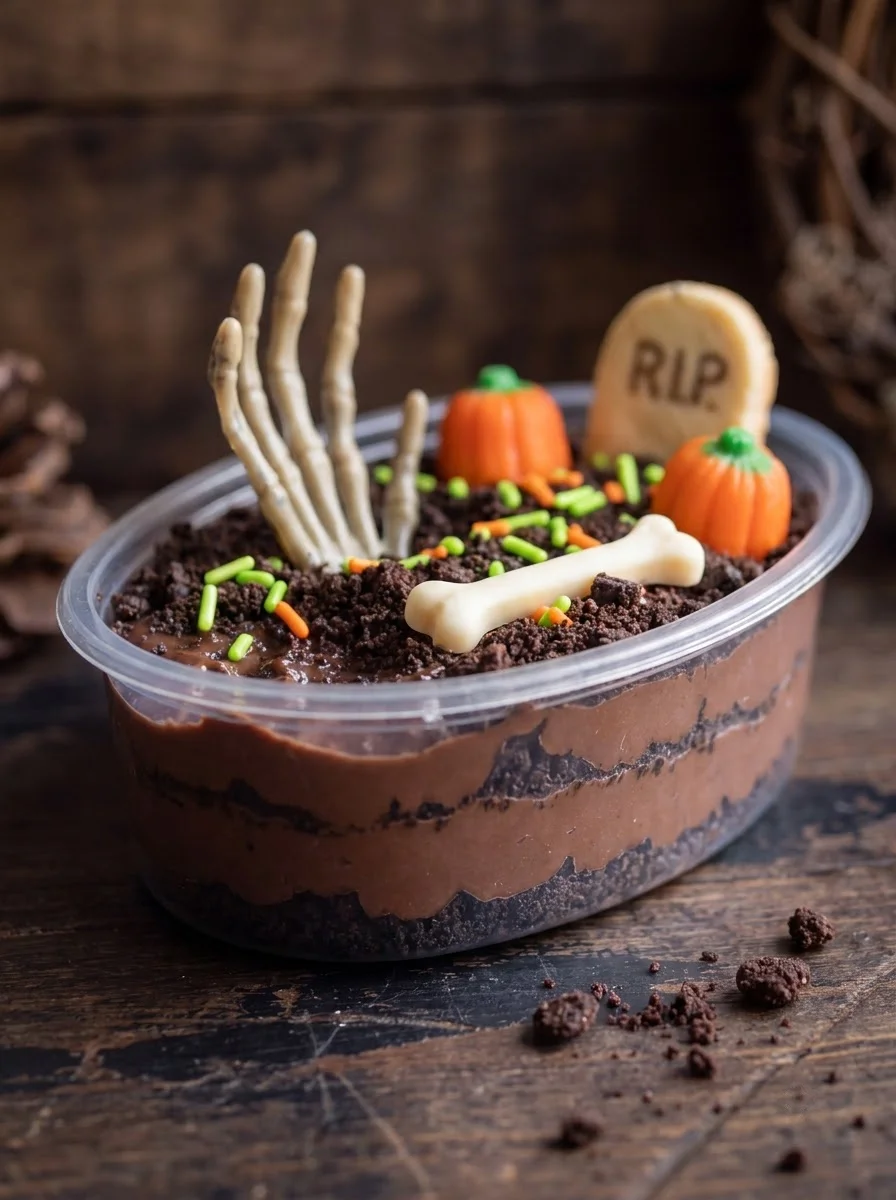
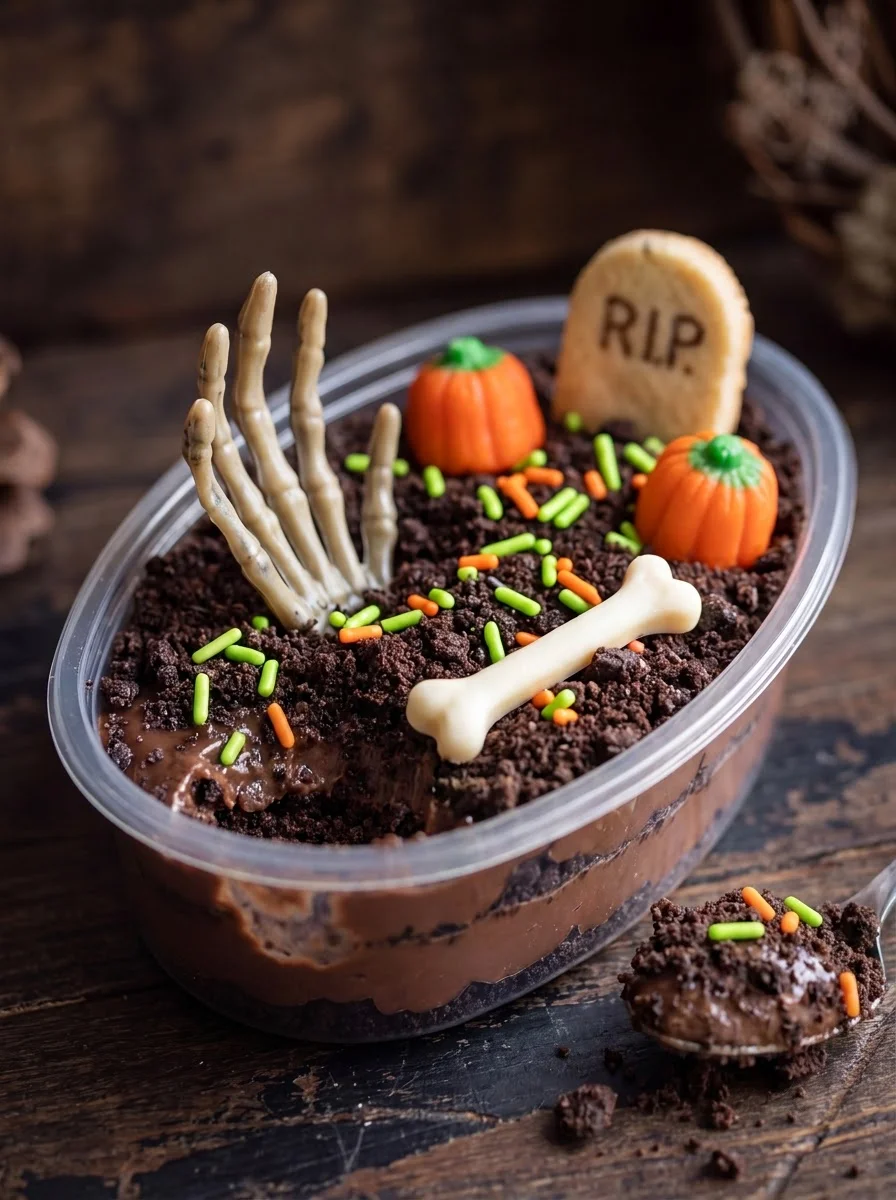
These Halloween Graveyard Dirt Cups are the perfect spooky treat to celebrate the Halloween season! With layers of rich chocolate pudding and crushed chocolate sandwich cookies, they create a delightful dessert that is not only easy to make but also visually fun. Whether you’re hosting a Halloween party or looking for something festive to share with kids, these dirt cups are sure to impress. Their unique combination of flavors and textures makes them a standout choice for any gathering.
Why You’ll Love This Recipe
- Quick and Easy: These dirt cups come together in just 15 minutes of prep time, making them an ideal last-minute dessert.
- No-Bake Delight: No need to turn on the oven! This no-bake recipe is perfect for warm autumn days.
- Customizable Toppings: You can personalize each cup with various Halloween candy decorations, allowing for creativity.
- Kid-Friendly Fun: Kids will love helping you layer the cups and decorate them, making it a fun family activity.
- Perfect for Parties: These individual servings fit right into any Halloween-themed event, adding an eerie touch to your dessert table.
Tools and Preparation
Before diving into the fun part of assembling your Halloween Graveyard Dirt Cups, gather your tools. Having everything ready will streamline the process and ensure you don’t miss a step.
Essential Tools and Equipment
- Food processor or rolling pin
- Large mixing bowl
- Whisk
- Clear individual dessert cups or containers
- Refrigerator
Importance of Each Tool
- Food processor: Makes quick work of crushing cookies into fine crumbs, saving you time and effort.
- Large mixing bowl: Provides ample space for whisking together ingredients without spills.
- Clear individual dessert cups: Show off your beautiful layers while enhancing the presentation of your spooky treats.
Ingredients
These spooky Halloween Graveyard Dirt Cups feature layers of rich chocolate pudding and crushed chocolate sandwich cookies, topped with fun and eerie candy decorations to create a delicious and festive treat perfect for any Halloween gathering.
For the Base
- 1 (14.3-ounce) package chocolate sandwich cookies
For the Pudding
- 2 (3.9-ounce) packages instant chocolate pudding mix
- 4 cups cold milk
For the Decorations
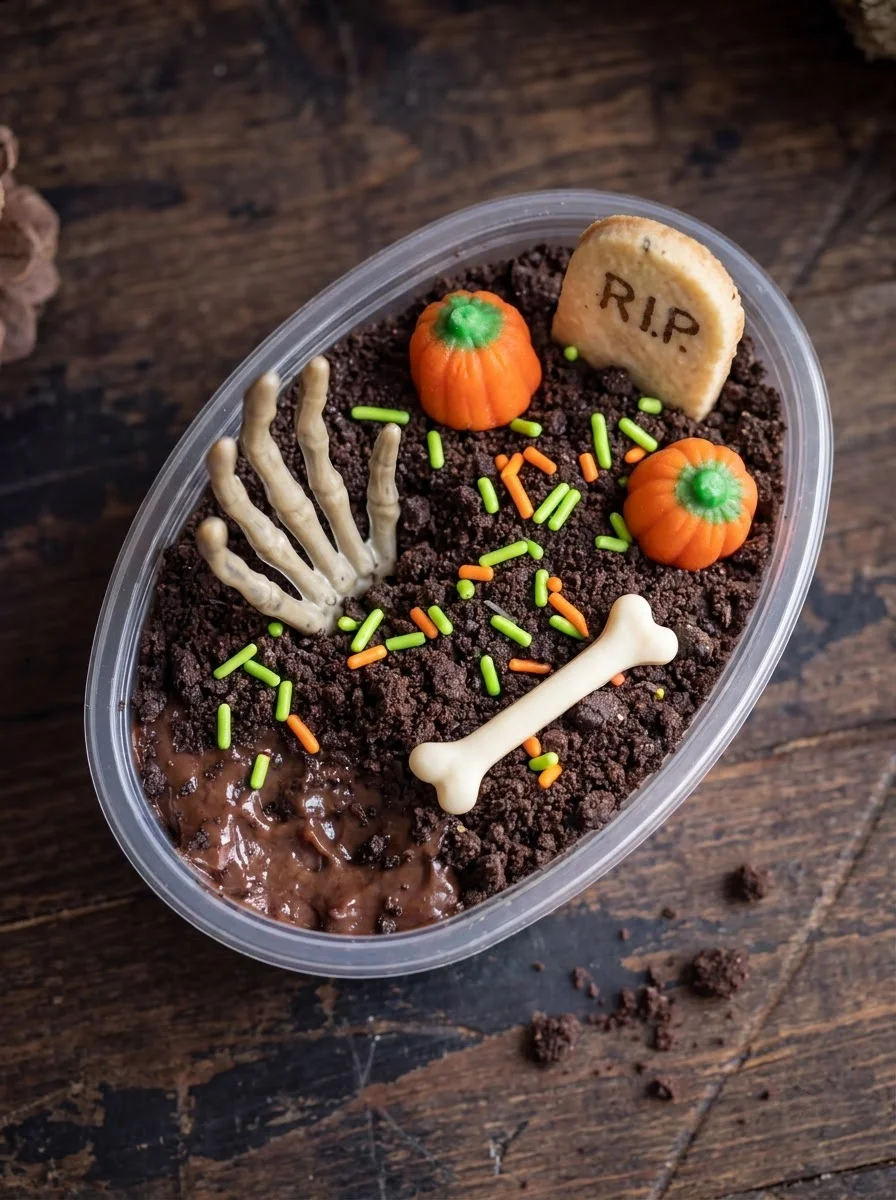
- Halloween candy decorations, such as plastic skeleton hands, candy bones, candy pumpkins, cookie tombstones, and green and orange sprinkles
How to Make Halloween Graveyard Dirt Cups
Step 1: Crush the Cookies
Crush the chocolate sandwich cookies into fine crumbs. This can be done using a food processor or by placing them in a resealable plastic bag and crushing them with a rolling pin. Set aside once finished.
Step 2: Prepare the Pudding
In a large mixing bowl, whisk together the instant chocolate pudding mix and cold milk for 2 minutes until thickened. Let stand for 5 minutes to fully set.
Step 3: Assemble the Cups
To assemble the dirt cups:
1. Place approximately 2 tablespoons of crushed cookies at the bottom of each clear dessert cup.
2. Spoon about 1/4 cup of prepared chocolate pudding over the cookie layer in each cup.
Step 4: Layer Again
Repeat the layering process:
1. Add another layer of crushed cookies on top of the pudding.
2. Follow with another layer of chocolate pudding until the cups are nearly full.
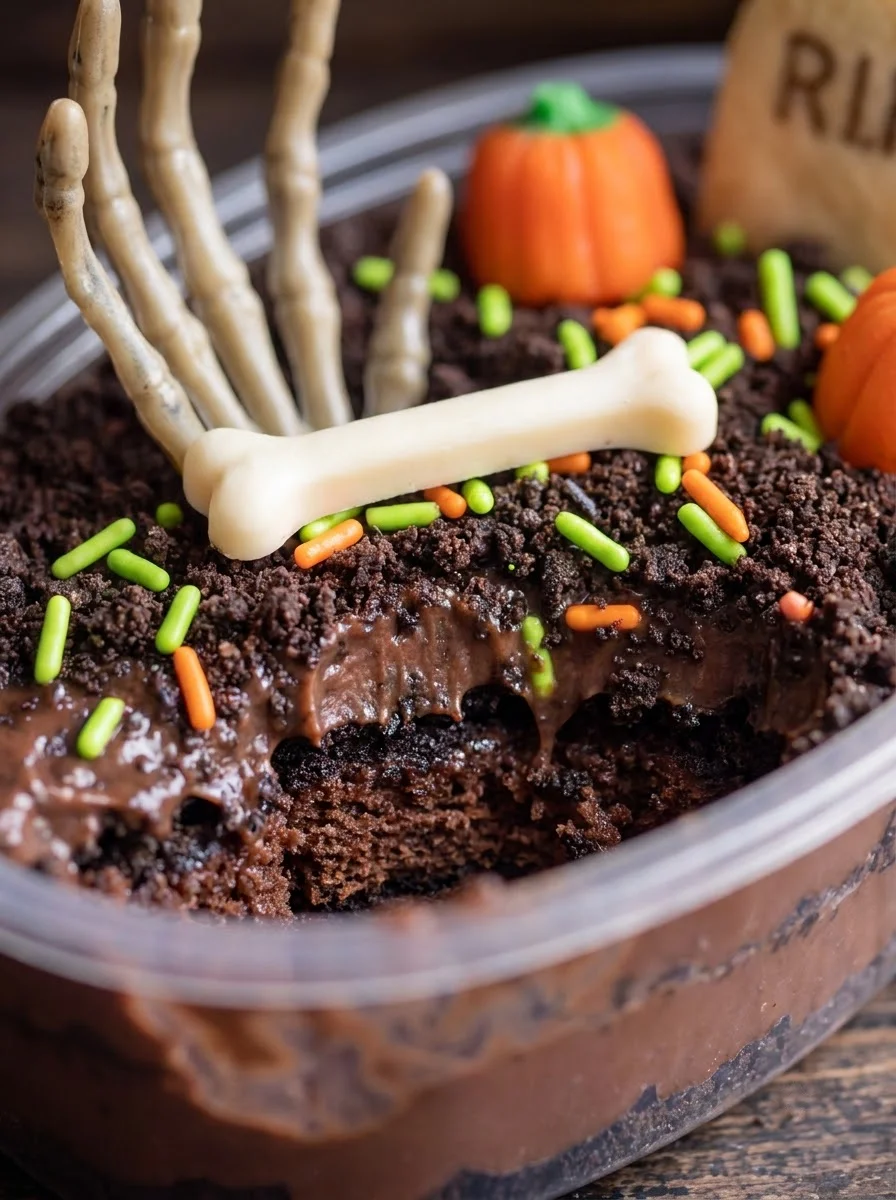
3. End with a final layer of crushed cookies to resemble dirt.
Step 5: Decorate
Decorate each dirt cup:
1. Top with Halloween candy decorations like plastic skeleton hands, candy bones, candy pumpkins, cookie tombstones, and colorful sprinkles.
2. Arrange creatively to create an eye-catching graveyard scene.
Step 6: Chill
Chill your Halloween Graveyard Dirt Cups in the refrigerator for at least 30 minutes before serving to ensure everything is thoroughly set and cold.
Enjoy these delightful treats at your next spooky gathering!
How to Serve Halloween Graveyard Dirt Cups
Serving Halloween Graveyard Dirt Cups is all about creativity and fun. These spooky treats can be presented in various ways to enhance the Halloween spirit and make your dessert table even more festive.
Individual Dessert Cups
- Use clear cups for a fun visual effect, showcasing the layers of pudding and cookie dirt.
- Top each cup with a variety of candy decorations for a colorful presentation.
Party Platter
- Arrange multiple cups on a large serving platter for an eye-catching display.
- Add some themed decorations around the platter, like fake spider webs or small pumpkins.
Themed Table Settings
- Pair the dirt cups with Halloween-themed plates and napkins to create a cohesive look.
- Use spooky centerpieces, such as carved pumpkins or ghost decorations, to set the mood.
Take-Home Treats
- Offer dirt cups in sealed containers for guests to take home after the party.
- Label each container with fun names related to Halloween, like Graveyard Goodies.
How to Perfect Halloween Graveyard Dirt Cups
To make your Halloween Graveyard Dirt Cups truly stand out, consider these helpful tips.
- Use fresh ingredients: Always use fresh milk and high-quality chocolate pudding mix for the best flavor and texture.
- Layer carefully: Take your time when layering the pudding and crushed cookies for a neat appearance.
- Chill before serving: Ensure that you chill the cups long enough so that they are firm and refreshing when served.
- Get creative with toppings: Experiment with different candy decorations like gummy worms or edible glitter for added fun.
- Make it a group activity: Involve kids or friends in assembling the cups; it’s a great way to enjoy some quality time together.
Best Side Dishes for Halloween Graveyard Dirt Cups
Pairing side dishes with your Halloween Graveyard Dirt Cups can elevate your dessert experience. Consider these tasty options that complement this spooky treat well.
- Witch’s Brew Soup: A vibrant green soup made from pureed vegetables, perfect for adding a touch of eeriness to your meal.
- Mummy Hot Dogs: Wrapped in crescent roll dough, these hot dogs resemble mummies and are fun finger foods for any gathering.
- Ghostly Mashed Potatoes: Fluffy mashed potatoes shaped like ghosts, complete with olive eyes for an adorable presentation.
- Pumpkin Spice Muffins: These moist muffins bring fall flavors to your table and pair wonderfully with sweet desserts.
- Cauliflower Brain Bites: Roasted cauliflower florets drizzled with spicy sauce make for an intriguing side dish that fits the theme.
- Spooky Salad: A salad featuring dark greens topped with black olives (like spiders) and shredded carrots (like tombstones) adds color and crunch.
Common Mistakes to Avoid
Making Halloween Graveyard Dirt Cups can be simple, but avoid these common mistakes for the best results.
- Overmixing the pudding: This can lead to a grainy texture. Mix just until combined for a smooth pudding.
- Using stale cookies: Ensure your chocolate sandwich cookies are fresh for the best flavor and crunch. Check the expiration date before starting.
- Skipping the chill time: Chilling allows the pudding to set properly. Don’t rush this step; aim for at least 30 minutes in the fridge.
- Not layering properly: For an appealing look, layer evenly. Make sure each cup has distinct layers of cookies and pudding.
- Forgetting decorations: The spooky decorations make these cups festive. Gather all your candy before you start assembling to ensure you don’t forget any fun touches.
Refrigerator Storage
- Store in airtight containers or cover with plastic wrap.
- Keep in the refrigerator for up to 3 days for optimal freshness.
Freezing Halloween Graveyard Dirt Cups
- Freezing is not recommended as it may affect the texture of the pudding.
- If needed, freeze without toppings for up to 1 month.
Reheating Halloween Graveyard Dirt Cups
- Oven: Not recommended as it will alter the texture of the dessert.
- Microwave: Use only if necessary; heat on low power for 10-15 seconds, but it’s better enjoyed cold.
- Stovetop: Avoid reheating on stovetop; this dish is best served chilled.
Frequently Asked Questions
Can I make Halloween Graveyard Dirt Cups ahead of time?
Yes, you can prepare them a day in advance. Just store them in the refrigerator until you’re ready to serve.
What kind of chocolate sandwich cookies should I use?
You can use classic Oreos or any other chocolate sandwich cookies. The key is to have a rich chocolate flavor.
How do I customize my Halloween Graveyard Dirt Cups?
You can add different candies like gummy worms or edible eyes for a unique twist. Feel free to get creative with decorations!
Are Halloween Graveyard Dirt Cups suitable for kids?
Absolutely! These treats are fun and easy to make, making them perfect for kids’ Halloween parties.
Final Thoughts
Halloween Graveyard Dirt Cups are a delightful addition to any spooky gathering. Their layers of rich chocolate pudding and crushed cookies create a delicious treat that everyone will love. Customize them with different candies to suit your theme and preferences, making them versatile enough for any occasion.
Halloween Graveyard Dirt Cups
- Total Time: 15 minutes
- Yield: Serves 6 individual dessert cups 1x
Description
Get ready for a thrilling Halloween dessert that’s both fun and delicious! These Halloween Graveyard Dirt Cups are perfect for parties, featuring layers of rich chocolate pudding and crushed chocolate sandwich cookies. Topped with playful candy decorations like skeleton hands and cookie tombstones, these cups create a delightful graveyard scene that will wow your guests. Easy to assemble and completely customizable, they are sure to be a hit among kids and adults alike. Whip up these spooky treats in just 15 minutes, let them chill, and get ready to serve a frightfully delicious dessert!
Ingredients
- 1 (14.3-ounce) package chocolate sandwich cookies
- 2 (3.9-ounce) packages instant chocolate pudding mix
- 4 cups cold milk
- Halloween candy decorations (plastic skeleton hands, candy bones, candy pumpkins, cookie tombstones, green and orange sprinkles)
Instructions
- Crush the chocolate sandwich cookies into fine crumbs using a food processor or by placing them in a resealable bag and crushing with a rolling pin. Set aside.
- In a large bowl, whisk together the instant chocolate pudding mix and cold milk for 2 minutes until thickened. Let stand for 5 minutes.
- In six clear dessert cups, add about 2 tablespoons of crushed cookies at the bottom of each cup.
- Spoon approximately 1/4 cup of pudding over the cookie layer in each cup.
- Repeat layering with another layer of crushed cookies followed by pudding until cups are nearly full; finish with a layer of crushed cookies to resemble dirt.
- Decorate with Halloween candy on top to create your graveyard scene.
- Chill in the refrigerator for at least 30 minutes before serving.
- Prep Time: 15 minutes
- Cook Time: 0 minutes
- Category: Dessert
- Method: No bake
- Cuisine: American
Nutrition
- Serving Size: 1 dirt cup (156g)
- Calories: 317
- Sugar: 24g
- Sodium: 334mg
- Fat: 14g
- Saturated Fat: 7g
- Unsaturated Fat: 5g
- Trans Fat: 0g
- Carbohydrates: 44g
- Fiber: 2g
- Protein: 4g
- Cholesterol: 5mg