Mini Chicken Pot Pies
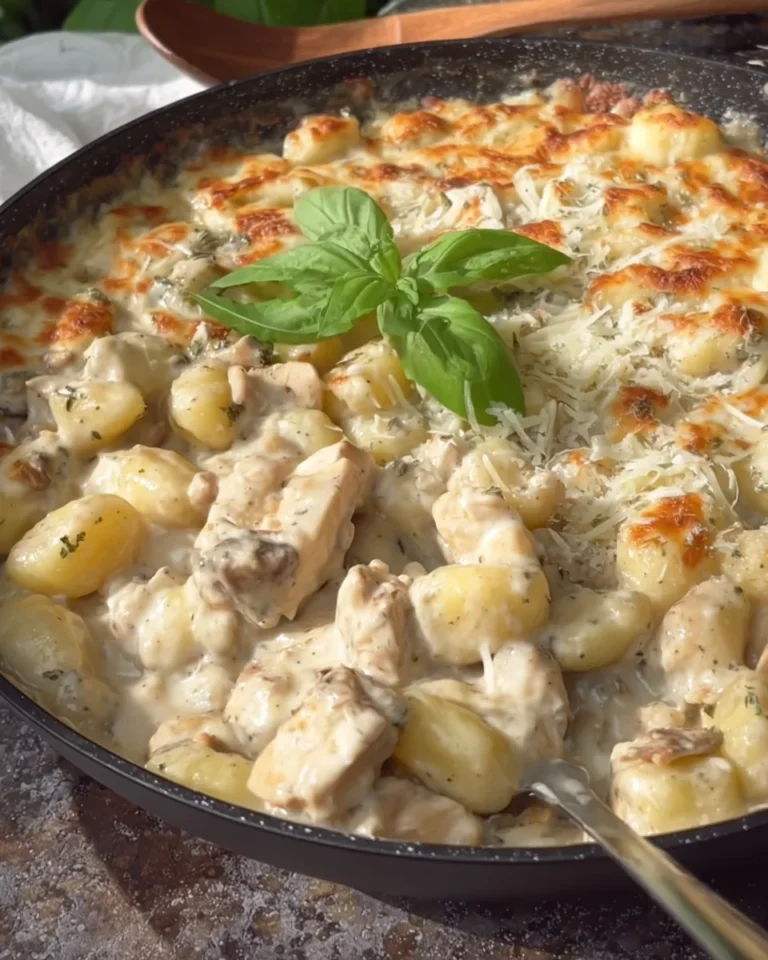
These Mini Chicken Pot Pies are the perfect blend of comfort and convenience. With a creamy chicken and vegetable filling wrapped in flaky crusts, they’re ideal for any occasion—from weeknight dinners to festive gatherings. These individual pot pies not only deliver on flavor but also offer a fun twist on a classic favorite, making them a hit with both kids and adults alike.

Why You’ll Love This Recipe
- Easy to Make: With simple ingredients and straightforward steps, these mini pot pies come together quickly.
- Perfect for Any Occasion: Whether it’s a cozy family dinner or a party appetizer, these pies fit right in.
- Versatile Filling Options: Feel free to customize the filling with your favorite vegetables or leftover proteins.
- Great for Meal Prep: Make a batch ahead of time; they freeze well and can be reheated easily.
- Kid-Friendly: Mini portions make them fun and approachable for little ones.
Tools and Preparation
To prepare these delicious mini chicken pot pies, you’ll need some essential tools. Having the right equipment makes the process smoother and more enjoyable.
Essential Tools and Equipment
- Muffin tin
- Large saucepan
- Wooden spoon or spatula
- Cookie cutter or glass rim (4-inch and 3-inch)
- Whisk
Importance of Each Tool
- Muffin tin: This is crucial for shaping your mini pot pies, ensuring even baking.
- Large saucepan: A spacious pot allows for easy stirring and combining of ingredients without spilling.
- Whisk: Perfect for achieving a smooth consistency when mixing liquids into the filling.
Ingredients
These individual mini chicken pot pies feature a creamy chicken and vegetable filling encased in flaky pie crusts, baked to golden perfection in a muffin tin.
For the Pie Crust
- 2 (14.1 ounce) packages refrigerated pie crusts (4 crusts total)
For the Filling
- 2 tablespoons unsalted butter
- 1/2 cup diced yellow onion
- 1/2 cup diced carrots
- 1/2 cup frozen green peas
- 1/3 cup all-purpose flour
- 1 teaspoon dried thyme
- 1/2 teaspoon black pepper
- 1 3/4 cups chicken broth
- 1/2 cup whole milk
- 2 cups cooked chicken, diced into 1/2-inch pieces
For Topping
- 1 large egg, beaten
- 1 tablespoon fresh parsley, chopped

How to Make Mini Chicken Pot Pies
Step 1: Preheat the Oven
Preheat your oven to 400°F. Lightly grease a standard 12-cup muffin tin to prevent sticking.
Step 2: Cook the Vegetables
In a large saucepan or pot, melt the unsalted butter over medium heat. Add the diced yellow onion and diced carrots. Cook for about 5-7 minutes until they soften. Stir in the frozen green peas and continue cooking for an additional two minutes.
Step 3: Make the Sauce
Sprinkle the all-purpose flour, dried thyme, and black pepper over the vegetables. Cook while stirring constantly for one minute to lightly toast the flour. Gradually whisk in the chicken broth and whole milk until smooth. Bring this mixture to a gentle simmer while stirring constantly. Cook for about three to five minutes until the sauce thickens.
Step 4: Combine with Chicken
Remove the saucepan from heat. Stir in the diced cooked chicken until everything is well combined. Set aside to cool slightly.
Step 5: Prepare Pie Crusts
Unroll the refrigerated pie crusts onto a lightly floured surface. Using a 4-inch round cookie cutter or glass rim, cut out twelve circles from two of the pie crusts for pie bottoms. Press each circle into your prepared muffin cups gently pushing it up along the sides.
Step 6: Cut Out Pie Tops
Using a smaller cookie cutter (3 inches), cut out twelve circles from the remaining two pie crusts for tops of pies.
Step 7: Fill Each Cup
Spoon an even amount of chicken and vegetable filling into each pie crust-lined muffin cup.
Step 8: Seal Pies
Place a top crust circle over each filled cup. Crimp edges together firmly to seal them closed. If desired, cut small slits in each top for steam to escape during baking.
Step 9: Brush with Egg Wash
Brush each top evenly with beaten egg to give them that beautiful golden color when baked.
Step 10: Bake
Bake your mini pot pies for about twenty to twenty-five minutes or until they are golden brown on top and filling is bubbly. Let them cool in muffin tins for five minutes before carefully removing.
Step 11: Garnish Before Serving
Garnish your mini pot pies with chopped fresh parsley just before serving for an extra pop of color!
How to Serve Mini Chicken Pot Pies
Mini chicken pot pies are versatile and can be served in various ways to enhance your meal experience. Whether you’re hosting a dinner party or enjoying a cozy family night, these little delights can be paired with several sides and garnishes for a complete dining experience.
Pair with a Fresh Salad
- Mixed Green Salad: Toss together fresh greens, cherry tomatoes, and cucumbers with a light vinaigrette for a refreshing contrast.
- Caesar Salad: A classic Caesar salad adds creamy dressing and crunchy croutons that complement the savory pies.
Add Dipping Sauces
- Gravy: Serve warm chicken gravy on the side for an extra layer of flavor.
- Hot Sauce: For those who enjoy a kick, offer hot sauce to drizzle over the pot pies.
Accompany with Bread
- Garlic Bread: Crispy garlic bread is perfect for soaking up any leftover filling.
- Dinner Rolls: Soft dinner rolls provide a comforting addition to your meal.
How to Perfect Mini Chicken Pot Pies
To achieve the best mini chicken pot pies, consider these helpful tips that will elevate your dish’s taste and presentation.
- Use Quality Ingredients: High-quality chicken and fresh vegetables enhance flavor and texture.
- Chill the Dough: Keeping the pie crust cold before baking helps create flakier layers.
- Don’t Overfill: Avoid overfilling each pie to ensure even cooking and prevent spills during baking.
- Adjust Seasoning: Taste your filling before adding it to ensure it’s well-seasoned; add salt or herbs as needed.
- Let Them Cool Slightly Before Serving: This allows the filling to set, making them easier to eat without spilling.
- Experiment with Flavors: Feel free to add herbs or spices like rosemary or garlic for a unique twist on the classic recipe.

Best Side Dishes for Mini Chicken Pot Pies
Pairing mini chicken pot pies with delicious side dishes enhances their appeal. Here are some great options that complement their flavors beautifully.
- Steamed Broccoli: Lightly steamed broccoli provides a nutritious crunch that balances the richness of the pies.
- Mashed Potatoes: Creamy mashed potatoes make for an indulgent side that pairs well with the savory filling.
- Roasted Asparagus: Tender roasted asparagus offers a flavorful green option that’s easy to prepare.
- Coleslaw: A tangy coleslaw adds crunch and acidity, brightening up your meal.
- Corn on the Cob: Sweet corn is a classic side that pairs perfectly with comfort food like pot pies.
- Fruit Salad: A refreshing fruit salad can cleanse the palate between bites of rich pie.
Common Mistakes to Avoid
Avoiding common mistakes can make your Mini Chicken Pot Pies even better. Here are some to watch out for:
- Skipping the Cooling Step: Allow the filling to cool slightly before adding it to the crust. This helps prevent soggy crusts.
- Overfilling the Pies: Filling the pies too much can cause overflow during baking. Aim for a balanced amount of filling in each pie.
- Not Sealing Properly: Make sure to crimp the edges of the crust well. This prevents the filling from leaking out while baking.
- Ignoring Egg Wash: Brushing the tops with a beaten egg gives a beautiful golden color and adds flavor. Don’t skip this step!
- Using Cold Ingredients: Let your pie crusts come to room temperature for easier handling. Cold crusts can crack when pressed into muffin tins.
Storage & Reheating Instructions
Refrigerator Storage
- Store the mini chicken pot pies in an airtight container.
- They will last up to 3 days in the refrigerator.
Freezing Mini Chicken Pot Pies
- You can freeze unbaked or baked mini chicken pot pies.
- Wrap them tightly in plastic wrap and then place them in a freezer-safe bag.
- They will last up to 2 months in the freezer.
Reheating Mini Chicken Pot Pies
- Oven: Preheat to 350°F and bake for about 15-20 minutes or until heated through.
- Microwave: Heat on medium power for 1-2 minutes, but note that this may make the crust less crispy.
- Stovetop: Place on a skillet over medium heat, cover, and heat for about 5-7 minutes until warmed through.

Frequently Asked Questions
How do I make Mini Chicken Pot Pies gluten-free?
You can substitute regular pie crusts with gluten-free options available at most grocery stores. Ensure your flour is also gluten-free.
Can Mini Chicken Pot Pies be made ahead of time?
Absolutely! You can prepare them ahead and store them in the fridge or freezer as mentioned above.
What vegetables can I use in Mini Chicken Pot Pies?
Feel free to mix in vegetables like corn, green beans, or bell peppers for variety.
Are Mini Chicken Pot Pies suitable for meal prep?
Yes! They are perfect for meal prep as they reheat well and make great lunches or dinners throughout the week.
Final Thoughts
These Mini Chicken Pot Pies are a delightful addition to any meal. Their individual servings make them perfect for gatherings or family dinners, while their creamy filling offers comfort on chilly nights. Feel free to customize with your favorite vegetables or spices for a personal touch!

Mini Chicken Pot Pies
- Total Time: 50 minutes
- Yield: Makes 12 mini pot pies 1x
Description
Indulge in the comforting goodness of Mini Chicken Pot Pies, perfect for cozy dinners or as delightful appetizers. These charming mini pies are filled with a creamy blend of tender chicken and seasonal vegetables, all encased in a flaky, golden crust. Baked in a muffin tin for easy portion control, they are not only delicious but also visually appealing. Serve them warm to impress family and friends at your next gathering or enjoy them as a satisfying weeknight meal. With a prep time of just 25 minutes, these mini pot pies are quick to prepare and sure to become a favorite in your recipe repertoire.
Ingredients
- 2 packages refrigerated pie crusts
- 2 tablespoons unsalted butter
- 1/2 cup diced yellow onion
- 1/2 cup diced carrots
- 1/2 cup frozen green peas
- 1/3 cup all-purpose flour
- 1 teaspoon dried thyme
- 1/2 teaspoon black pepper
- 1 3/4 cups chicken broth
- 1/2 cup whole milk
- 2 cups cooked chicken, diced
- 1 large egg, beaten
- Fresh parsley for garnish
Instructions
- Preheat oven to 400°F and lightly grease a muffin tin.
- Melt butter in a saucepan over medium heat; add onion and carrots, cooking until softened (5–7 minutes). Stir in peas and cook for an additional 2 minutes.
- Sprinkle flour, thyme, and pepper over vegetables; cook while stirring for about 1 minute.
- Gradually whisk in chicken broth and milk; bring to simmer until thickened (3–5 minutes).
- Remove from heat; stir in cooked chicken.
- Roll out pie crusts on floured surface; cut out circles for the bottom and top of each pie.
- Place bottom crusts in muffin cups; fill with chicken mixture and cover with top crusts.
- Seal edges, cut slits for steam, and brush tops with beaten egg.
- Bake for 20–25 minutes until golden brown; cool slightly before serving.
- Prep Time: 25 minutes
- Cook Time: 25 minutes
- Category: Main Course, Appetizer
- Method: Baking
- Cuisine: American
Nutrition
- Serving Size: 1 mini pot pie (80g)
- Calories: 230
- Sugar: 1g
- Sodium: 420mg
- Fat: 12g
- Saturated Fat: 5g
- Unsaturated Fat: 6g
- Trans Fat: 0g
- Carbohydrates: 23g
- Fiber: 2g
- Protein: 8g
- Cholesterol: 40mg