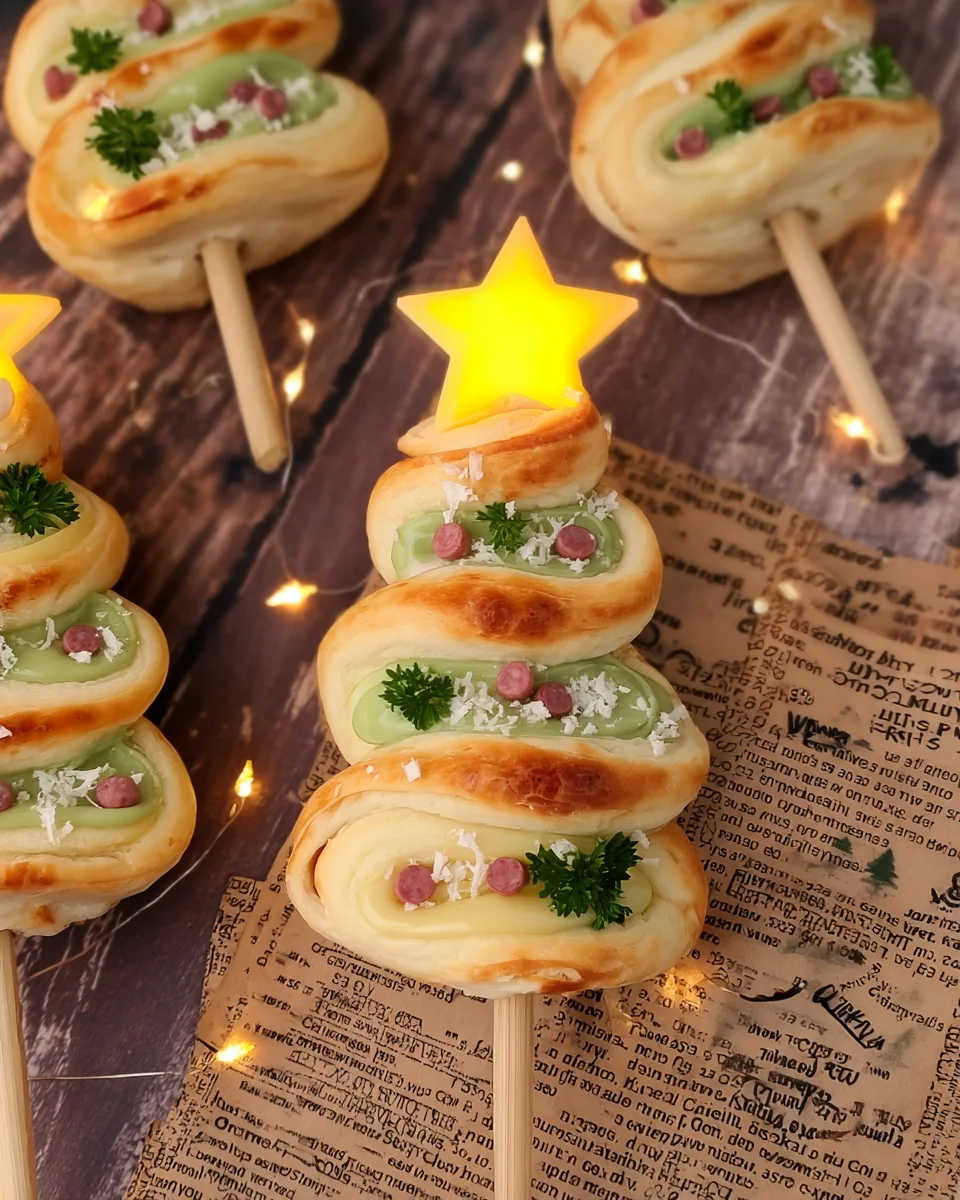
Quick Christmas Trees
Celebrate the festive season with these Quick Christmas Trees! These delightful treats are not only easy to make but also perfect for various occasions, from holiday parties to family gatherings. With their vibrant colors and fun decorations, they stand out on any dessert table and are a fantastic project for both kids and adults. Enjoy the joy of creating something beautiful and tasty with minimal effort!
Why You’ll Love This Recipe
- Fun for Everyone: Making Quick Christmas Trees is an enjoyable activity that brings families together during the holidays.
- Quick Assembly: This recipe requires minimal time and effort, making it ideal for busy holiday schedules.
- Customizable Decorations: Use your favorite sprinkles and toppings to create unique trees that reflect your personal style.
- Great for Gifting: Pack these adorable treats in gift boxes for friends and family; they make perfect edible gifts!
- Festive Appeal: Their bright colors and charming shapes make them a delightful addition to any festive gathering.
Tools and Preparation
Before diving into making your Quick Christmas Trees, gather the necessary tools. This will ensure a smooth and enjoyable experience.
Essential Tools and Equipment
- Parchment paper
- Microwave-safe bowl
- Fork or dipping tool
- Serving platter or gift boxes
Importance of Each Tool
- Parchment paper: Helps keep your workspace clean while allowing the trees to cool without sticking.
- Microwave-safe bowl: Ensures safe melting of candy melts without damaging your dishware.
Ingredients
For the Trees
- 12 sugar cones
- 1 cup green candy melts
For Decoration
- 1 cup assorted sprinkles (colored, edible glitter, etc.)
- 1 cup mini chocolate chips (for ornaments)
For Topping
- 12 small edible stars (for the tops)
- 1 tablespoon coconut flakes (optional, for snow effect)

How to Make Quick Christmas Trees
Step 1: Prepare the Work Area
Set up your workspace with parchment paper to catch any drips from the melted candy. This will make cleanup easy afterward.
Step 2: Melt the Candy
In a microwave-safe bowl, melt the green candy melts according to package instructions. Stir until smooth for an even coating.
Step 3: Coat the Cones
Dip each sugar cone into the melted green candy. Swirl gently to coat evenly, allowing any excess candy to drip back into the bowl.
Step 4: Decorate
Immediately sprinkle colorful sprinkles, mini chocolate chips, and coconut flakes over the coated cones before the candy hardens. Get creative with your designs!
Step 5: Add the Star
Once decorated, gently press an edible star into the top of each cone. This adds a festive touch that completes your trees beautifully.
Step 6: Set and Serve
Allow your Quick Christmas Trees to cool completely on parchment paper until their candy coating hardens. Once ready, arrange them on a serving platter or pack them in gift boxes. Enjoy your festive creations!
How to Serve Quick Christmas Trees
Quick Christmas Trees are delightful treats that can brighten up any holiday gathering. Here are some fun serving ideas to impress your guests and make your festive table pop with color.
Festive Platter
- Arrange the Quick Christmas Trees on a large platter for a visually appealing centerpiece. This makes it easy for guests to grab one as they mingle.
Gift Boxes
- Package individual trees in small gift boxes tied with ribbons. This makes a thoughtful gift for friends or family during the holiday season.
Dessert Table Display
- Set up a dessert table featuring Quick Christmas Trees alongside other holiday desserts. The vibrant colors will attract attention and create a joyful atmosphere.
Hot Cocoa Pairing
- Serve Quick Christmas Trees with warm cups of hot cocoa. The sweet treat complements the rich beverage perfectly, creating a cozy pairing.
Kids’ Party Favors
- Use these trees as party favors at children’s holiday parties. Kids will love taking home their own edible decorations!
Holiday Baking Party
- Include Quick Christmas Trees as part of a holiday baking party activity. They are fun and easy to make, making them perfect for group participation.
How to Perfect Quick Christmas Trees
Creating perfect Quick Christmas Trees is all about attention to detail and creativity. Here are some tips to elevate your festive treats.
- Choose quality ingredients: Using high-quality candy melts and sprinkles can make a big difference in taste and appearance.
- Work quickly: Decorate while the candy coating is still warm to ensure that the sprinkles and toppings stick effectively.
- Experiment with colors: Use different shades of green or even other colors for unique designs that suit your theme.
- Add texture: Incorporate different types of sprinkles, like crushed candies or nuts, to add crunch and visual interest.
- Use a steady hand: When coating the cones, ensure an even swirl for a smooth finish that looks professionally done.
- Chill before serving: If you have time, refrigerate the finished trees briefly to help set the coating firmly before serving.

Best Side Dishes for Quick Christmas Trees
Pairing side dishes with your Quick Christmas Trees can enhance the overall dining experience. Here are some delightful options to consider.
- Stuffed Mushrooms: Savory mushrooms filled with cheese and herbs add an elegant touch alongside sweet treats.
- Caprese Salad Skewers: Fresh mozzarella, cherry tomatoes, and basil drizzled with balsamic glaze create a refreshing contrast.
- Cheese Platter: A variety of cheeses served with crackers offers a savory balance to the sweetness of the trees.
- Mini Quiches: Bite-sized quiches filled with vegetables or meats complement the festive vibe without overpowering it.
- Fruit Skewers: Colorful fruit combinations provide a refreshing palate cleanser after indulging in sweets.
- Holiday Punch: A fruity punch can be an exciting beverage option that pairs well with desserts while keeping everyone hydrated.
- Roasted Vegetables: Seasonal veggies roasted with herbs offer warmth and comfort, providing balance on your buffet table.
- Garlic Breadsticks: Soft breadsticks brushed with garlic butter add an irresistible aroma that invites everyone to snack more!
Common Mistakes to Avoid
Making Quick Christmas Trees can be a fun experience, but there are some common mistakes to watch out for.
- Not preparing your workspace: Failing to set up a clean area can lead to a messy process. Always use parchment paper for easy cleanup.
- Overheating the candy melts: Melting the candy too long can cause it to seize. Follow the package instructions closely and melt in short bursts.
- Skipping the sprinkles: Forgetting to add decorations before the chocolate hardens means less festive trees. Work quickly after coating each cone.
- Using stale ingredients: Old sprinkles or candy can ruin your treats. Always check that your ingredients are fresh for the best flavor and appearance.
- Ignoring cooling time: Trying to move the trees too soon can cause them to fall apart. Let them cool completely on parchment paper.
Refrigerator Storage
- Duration: Store in the refrigerator for up to 1 week.
- Containers: Use an airtight container to prevent them from getting stale.
Freezing Quick Christmas Trees
- Duration: You can freeze them for up to 2 months.
- Containers: Place in a freezer-safe container, separating layers with parchment paper.
Reheating Quick Christmas Trees
- Oven: Preheat at 200°F (93°C) and warm for about 5 minutes. This will help maintain texture without melting too much.
- Microwave: Heat in short bursts of 10 seconds, checking often. This is not recommended as it may melt decorations.
- Stovetop: Not advised, as it could easily ruin your trees.

Frequently Asked Questions
What are Quick Christmas Trees made of?
Quick Christmas Trees are made from sugar cones, green candy melts, and colorful sprinkles, making them both delicious and visually appealing.
How long do Quick Christmas Trees last?
They last about one week in the refrigerator and up to two months if frozen, allowing you to enjoy them throughout the holiday season.
Can I customize my Quick Christmas Trees?
Absolutely! Feel free to use different colors of candy melts or various toppings like nuts or dried fruits for added flavor and decoration.
Are Quick Christmas Trees easy for kids to make?
Yes! These trees are simple enough for kids to assemble with adult supervision, making them a fun family activity during the holidays.
What other treats can I make with sugar cones?
Sugar cones are versatile! You can create ice cream cones or use them as bases for other creative desserts like cupcakes or mini trifle cups.
Final Thoughts
These Quick Christmas Trees are not only adorable but also easy to customize according to your favorite flavors and colors. They make perfect gifts or festive decorations for any holiday gathering. Try this delightful recipe and let your creativity shine!

Quick Christmas Trees
- Total Time: 20 minutes
- Yield: 12 servings 1x
Description
Celebrate the joy of the holiday season with Quick Christmas Trees, a delightful and easy-to-make treat that’s perfect for any festive gathering. These whimsical edible decorations are created using sugar cones, vibrant green candy melts, and colorful sprinkles, making them an instant hit with both kids and adults. With minimal preparation time, you can quickly assemble these charming trees as a fun activity for family gatherings or as thoughtful gifts for friends. The best part? You can customize them to reflect your unique style! Whether displayed on a festive dessert table or packed in gift boxes, Quick Christmas Trees are sure to spread cheer and sweetness all around.
Ingredients
- 12 sugar cones
- 1 cup green candy melts
- 1 cup assorted sprinkles
- 1 cup mini chocolate chips (for ornaments)
- 12 small edible stars (for decoration)
Instructions
- Prepare your workspace with parchment paper.
- Melt the green candy melts in a microwave-safe bowl until smooth.
- Dip each sugar cone into the melted candy, swirling to coat evenly.
- Immediately decorate with sprinkles and mini chocolate chips before the coating hardens.
- Gently press an edible star into the top of each cone.
- Allow to cool completely on parchment paper before serving or gifting.
- Prep Time: 15 minutes
- Cook Time: 5 minutes
- Category: Dessert
- Method: No-bake
- Cuisine: American
Nutrition
- Serving Size: 1 serving
- Calories: 210
- Sugar: 24g
- Sodium: 50mg
- Fat: 8g
- Saturated Fat: 5g
- Unsaturated Fat: 3g
- Trans Fat: 0g
- Carbohydrates: 34g
- Fiber: 0g
- Protein: 1g
- Cholesterol: 0mg