Snowflake Crisps
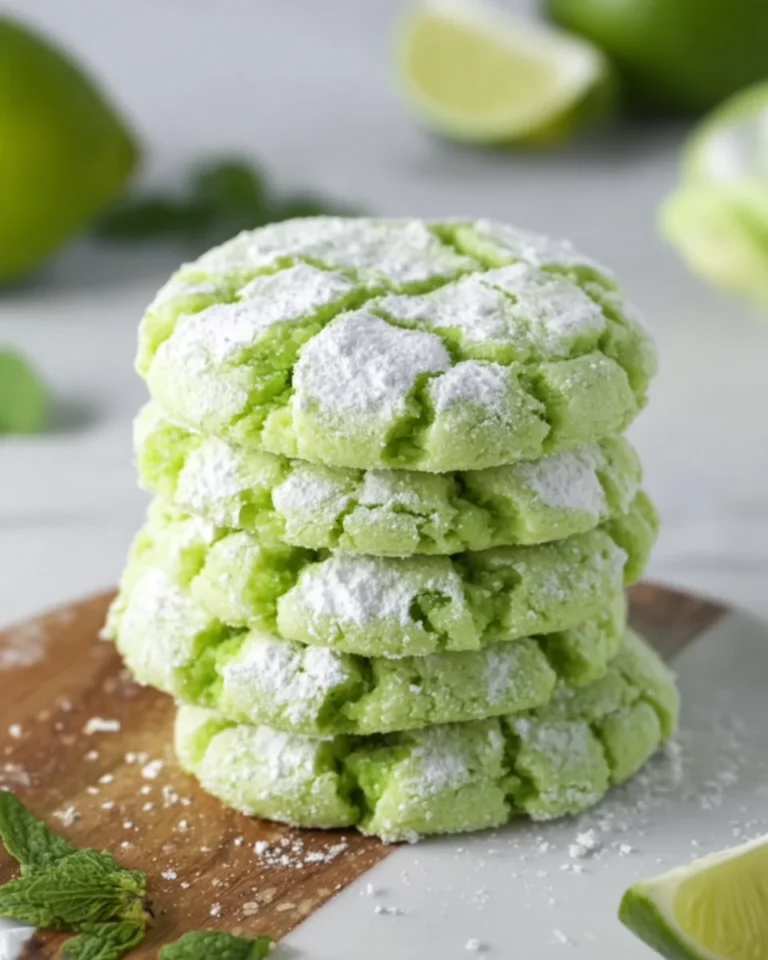
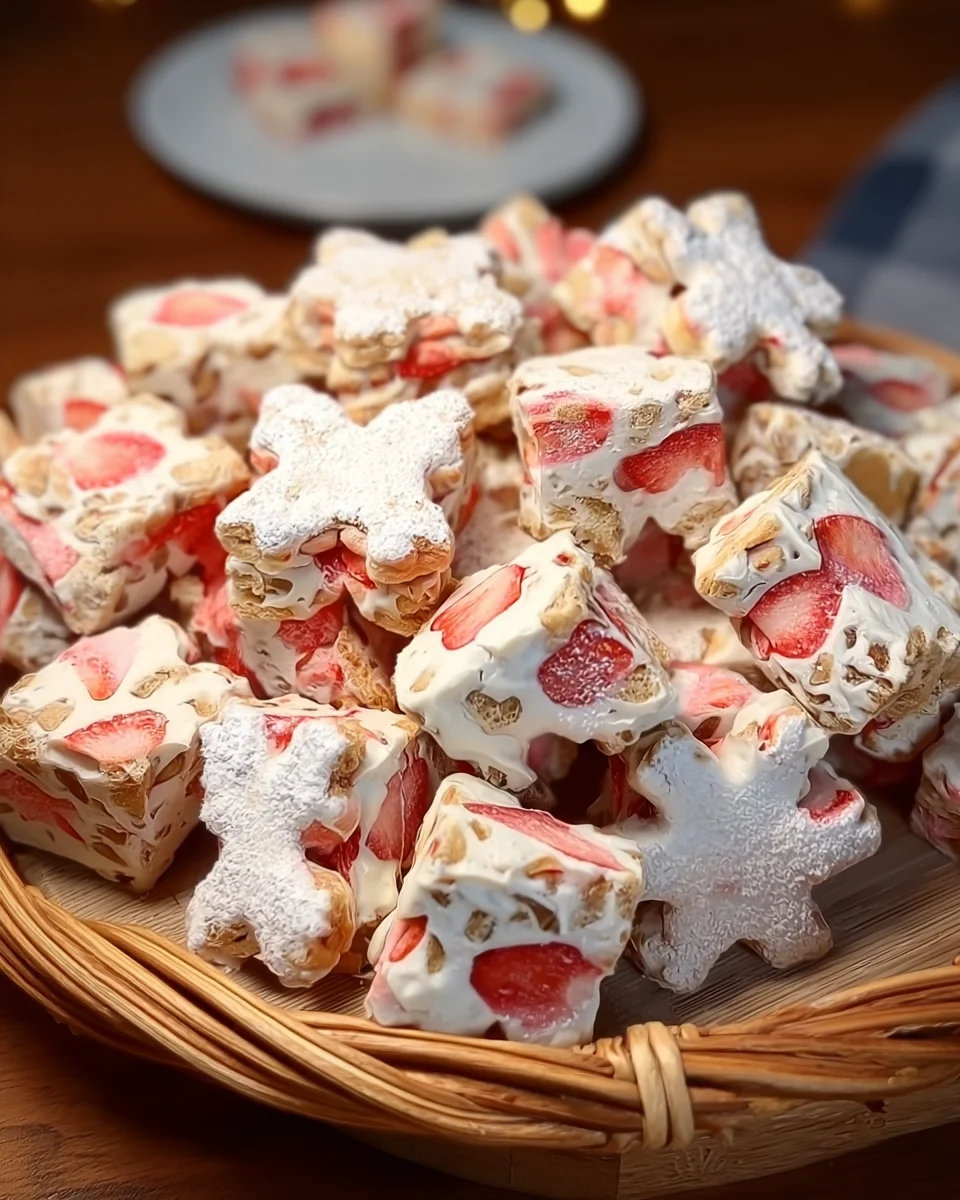
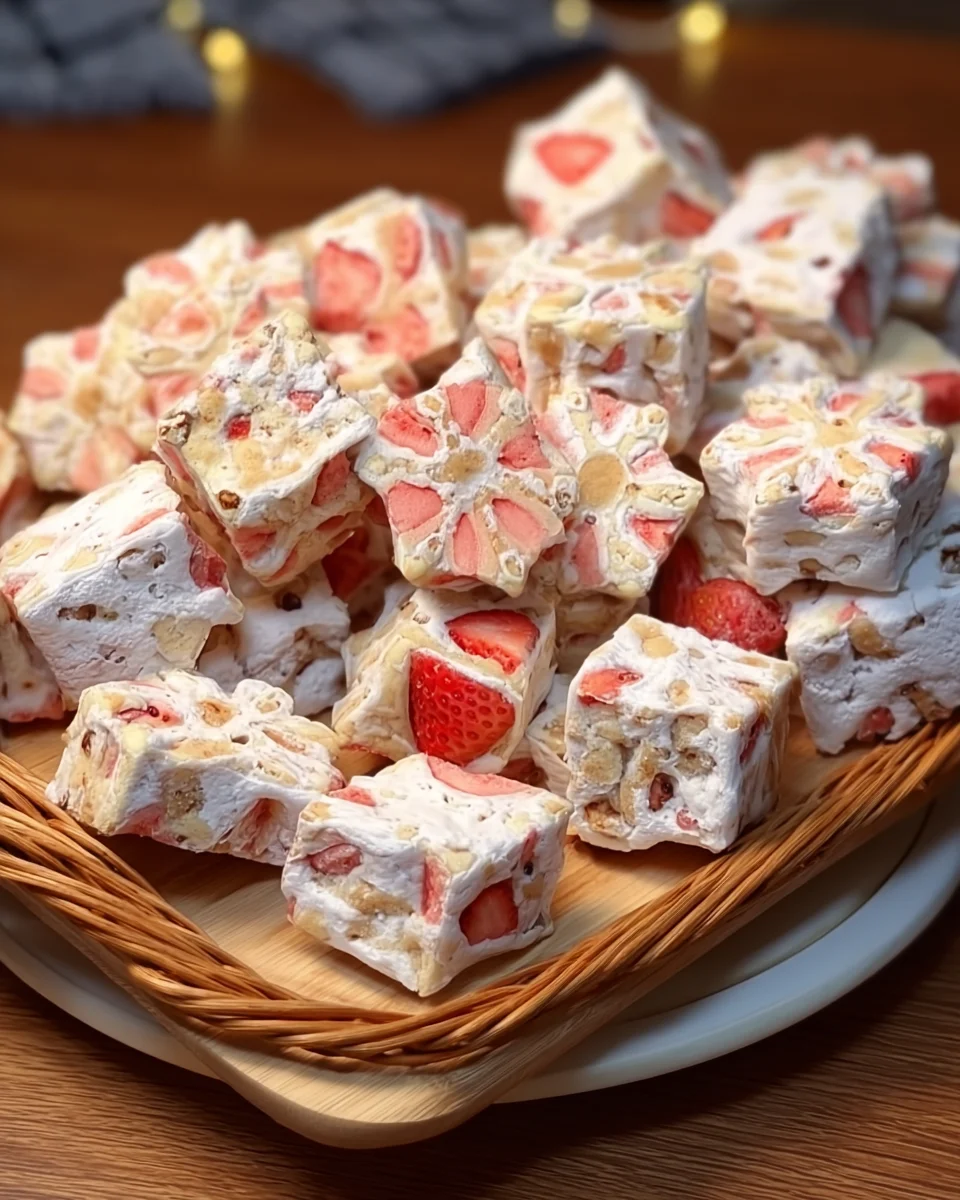
Indulge in the delightful world of Snowflake Crisps, where crunchy, buttery cookies come together in a charming snowflake shape. These airy treats are perfectly dusted with powdered sugar, making them an irresistible addition to your holiday gatherings. Enjoy their lightness during festive celebrations or cozy winter evenings; these cookies shine on any dessert table!

Why You’ll Love This Recipe
- Easy to Make: This recipe is straightforward and requires minimal ingredients, perfect for both novice and experienced bakers.
- Perfect for Any Occasion: Whether it’s a holiday party or a casual get-together, Snowflake Crisps fit in seamlessly.
- Delicious Flavor: The combination of vanilla and almond extracts creates a rich flavor that everyone will love.
- Light and Airy Texture: These cookies are not only tasty but also have a wonderfully light texture that melts in your mouth.
- Customizable Shapes: While they are snowflake-shaped, you can easily use any cookie cutter to create fun designs.
Tools and Preparation
To make Snowflake Crisps effortlessly, gather your kitchen tools. Having the right equipment will ensure a smooth baking experience.
Essential Tools and Equipment
- Mixing bowl
- Whisk
- Baking sheet
- Parchment paper
- Rolling pin (optional)
- Cookie cutter (optional)
Importance of Each Tool
- Mixing bowl: A large mixing bowl allows you to mix all ingredients thoroughly without spills.
- Whisk: Using a whisk makes it easier to blend dry ingredients and cream butter with sugar evenly.
- Baking sheet: A good-quality baking sheet ensures even baking and prevents sticking when lined with parchment paper.
Ingredients
For the Dough
- 1 cup all-purpose flour
- ½ teaspoon baking powder
- ¼ teaspoon salt
- ½ cup unsalted butter, softened
- ½ cup granulated sugar
- 1 large egg
- 1 teaspoon vanilla extract
- 1 teaspoon almond extract
For Dusting
- Powdered sugar
How to Make Snowflake Crisps
Step 1: Preheat the Oven
Preheat your oven to 350°F (175°C). Line a baking sheet with parchment paper to prevent sticking.
Step 2: Mix Dry Ingredients
In a small bowl, whisk together the flour, baking powder, and salt until well combined. Set this mixture aside for later use.
Step 3: Cream Butter and Sugar
In a large mixing bowl, beat the softened butter and granulated sugar together until light and fluffy. This should take about 3-4 minutes.
Step 4: Add Eggs and Extracts
Beat in the egg along with both the vanilla extract and almond extract until everything is well combined.
Step 5: Combine Mixtures
Gradually add the dry ingredients to the butter mixture. Mix until just combined; be careful not to over-mix.
Step 6: Shape the Cookies
Roll the dough into small balls (about 1-inch in diameter) and place them on the prepared baking sheet. Flatten each ball slightly using the bottom of a glass or your hand.
Step 7: Bake
Bake in your preheated oven for about 10-12 minutes or until the edges are lightly golden.
Step 8: Cool and Dust
Allow the cookies to cool on the baking sheet for a few minutes before transferring them to a wire rack to cool completely. Once cooled, generously dust with powdered sugar.
Step 9: Serve and Enjoy
Arrange your beautiful Snowflake Crisps on a platter. They are now ready to be enjoyed at your next gathering! Delight everyone with their light, buttery goodness!
How to Serve Snowflake Crisps
Snowflake Crisps are a delightful treat that can elevate any gathering. Their light and buttery texture makes them perfect for various occasions, especially during the festive season. Here are some creative ways to serve these crunchy cookies.
On a Festive Platter
- Arrange your Snowflake Crisps in a beautiful pattern on a decorative platter. This adds an elegant touch to your dessert table.
With Hot Beverages
- Pair these cookies with hot chocolate, coffee, or tea for a cozy experience. The warmth of the drinks complements the crispy texture perfectly.
As Party Favors
- Package individual Snowflake Crisps in clear bags tied with ribbons. This makes for charming party favors that guests will love.
Alongside Ice Cream
- Serve Snowflake Crisps as a delightful side to scoops of vanilla or almond-flavored ice cream. The combination creates a satisfying contrast of temperatures and textures.
For Holiday Gatherings
- Place the cookies in festive tins or jars as gifts for friends and family during the holidays. It’s a sweet way to share your baking creations.
With Decorative Sugar
- Dust additional colored sugar on top of the Snowflake Crisps for added visual appeal. This is especially fun for kids’ parties or winter celebrations.
How to Perfect Snowflake Crisps
To achieve the best results with your Snowflake Crisps, keep these tips in mind. They will help you create an even more delightful batch of cookies.
- Use Room Temperature Butter: Ensure your butter is softened at room temperature. This helps achieve the right creamy texture when creaming it with sugar.
- Measure Flour Correctly: Use the spoon-and-level method to measure flour accurately. Too much flour can make your cookies dense instead of light and airy.
- Don’t Overmix Dough: Once you combine the dry ingredients with the wet, mix until just combined. Overmixing can lead to tough cookies.
- Chill the Dough: If time allows, chill your dough for about 30 minutes before shaping. This helps prevent spreading while baking, resulting in prettier shapes.
- Watch Baking Time: Keep an eye on your cookies as they bake. Remove them from the oven when they are lightly golden around the edges for optimal crunchiness.
- Add Flavor Variations: Experiment with different extracts like peppermint or lemon for unique twists on classic Snowflake Crisps.
Best Side Dishes for Snowflake Crisps
Pairing side dishes with your Snowflake Crisps can enhance your dessert offering even further. Consider these delicious options that complement the flavors of your cookies beautifully.
- Spiced Apple Cider: A warm drink that adds fall flavors and pairs nicely with sweet treats.
- Chocolate Fondue: Perfect for dipping; this indulgent option adds richness alongside your light cookies.
- Berry Compote: A fresh and tangy topping that balances out the sweetness of the crisps.
- Cheese Platter: Include mild cheeses like brie or goat cheese for a savory contrast.
- Fruit Salad: A refreshing mix of seasonal fruits that brightens up any dessert table.
- Mini Cheesecakes: Bite-sized desserts that provide creamy richness without overpowering the Snowflake Crisps.
- Yogurt Parfaits: Layer yogurt with granola and fresh fruit for a healthful side that’s easy to prepare.
- Nut Mixes: Offer savory roasted nuts which create a delightful crunchy contrast to the soft textures of cookies.
Common Mistakes to Avoid
When making Snowflake Crisps, it’s easy to make a few common errors. Here are some mistakes to avoid for perfect cookies every time.
- Using cold butter: Cold butter can lead to dense cookies. Always use softened butter for the right texture.
- Overmixing the dough: Overmixing can make your cookies tough. Mix just until combined for light, airy Snowflake Crisps.
- Skipping the cooling step: Letting cookies cool on the baking sheet is crucial. This prevents them from breaking apart when transferred.
- Not measuring ingredients properly: Accurate measurements are key to success. Always use proper measuring cups and spoons.
- Ignoring oven temperature: An uncalibrated oven can ruin your cookies. Use an oven thermometer to ensure correct baking temperatures.
Refrigerator Storage
- Store Snowflake Crisps in an airtight container in the refrigerator.
- They will stay fresh for up to one week when refrigerated.
Freezing Snowflake Crisps
- Place cooled cookies in an airtight container or freezer bag.
- They can be frozen for up to three months without losing quality.
Reheating Snowflake Crisps
- Oven: Preheat to 350°F (175°C) and warm for about 5 minutes for a fresh-baked taste.
- Microwave: Heat one cookie at a time on low power for about 10-15 seconds.
- Stovetop: Place in a skillet over low heat for a couple of minutes, flipping occasionally until warm.
Frequently Asked Questions
What are Snowflake Crisps?
Snowflake Crisps are light, buttery cookies shaped like snowflakes and dusted with powdered sugar, perfect for holiday festivities.
How do I achieve the best texture with Snowflake Crisps?
To achieve the best texture, ensure that you use softened butter and avoid overmixing the dough.
Can I customize my Snowflake Crisps?
Absolutely! You can add chocolate chips, nuts, or spices like cinnamon for a unique twist on this classic recipe.
How long do Snowflake Crisps last?
When stored properly, Snowflake Crisps can last up to one week in the refrigerator or three months in the freezer.
Final Thoughts
Snowflake Crisps are not only delicious but also versatile enough for various occasions. Their light and airy texture makes them an irresistible treat during holidays or any gathering. Feel free to customize them with your favorite flavors or toppings!

Snowflake Crisps
- Total Time: 27 minutes
- Yield: Approximately 24 cookies 1x
Description
Indulge in the delightful charm of Snowflake Crisps, light and buttery cookies that are perfect for adding a festive touch to any gathering. Shaped like intricate snowflakes and dusted with powdered sugar, these airy treats are not just visually appealing but also incredibly easy to make. With a heavenly blend of vanilla and almond extracts, each bite melts in your mouth, leaving you craving more. Whether served on a beautifully arranged platter or paired with warm beverages, Snowflake Crisps elevate your holiday celebrations and cozy winter evenings. Discover how simple it is to create these enchanting cookies at home!
Ingredients
- 1 cup all-purpose flour
- ½ teaspoon baking powder
- ¼ teaspoon salt
- ½ cup unsalted butter, softened
- ½ cup granulated sugar
- 1 large egg
- 1 teaspoon vanilla extract
- 1 teaspoon almond extract
- Powdered sugar for dusting
Instructions
- Preheat your oven to 350°F (175°C) and line a baking sheet with parchment paper.
- In a small bowl, whisk together the flour, baking powder, and salt; set aside.
- In a large mixing bowl, cream together the softened butter and granulated sugar until light and fluffy (about 3-4 minutes).
- Beat in the egg along with the vanilla and almond extracts until well combined.
- Gradually incorporate the dry ingredients into the wet mixture until just combined.
- Roll dough into 1-inch balls, flatten slightly on the prepared baking sheet.
- Bake for 10-12 minutes or until edges are lightly golden.
- Cool on wire racks before dusting generously with powdered sugar.
- Prep Time: 15 minutes
- Cook Time: 12 minutes
- Category: Dessert
- Method: Baking
- Cuisine: Holiday treats
Nutrition
- Serving Size: 1 cookie (15g)
- Calories: 72
- Sugar: 4g
- Sodium: 31mg
- Fat: 4g
- Saturated Fat: 2g
- Unsaturated Fat: 2g
- Trans Fat: 0g
- Carbohydrates: 8g
- Fiber: <1g
- Protein: <1g
- Cholesterol: 13mg