4th Of July Oreo Balls
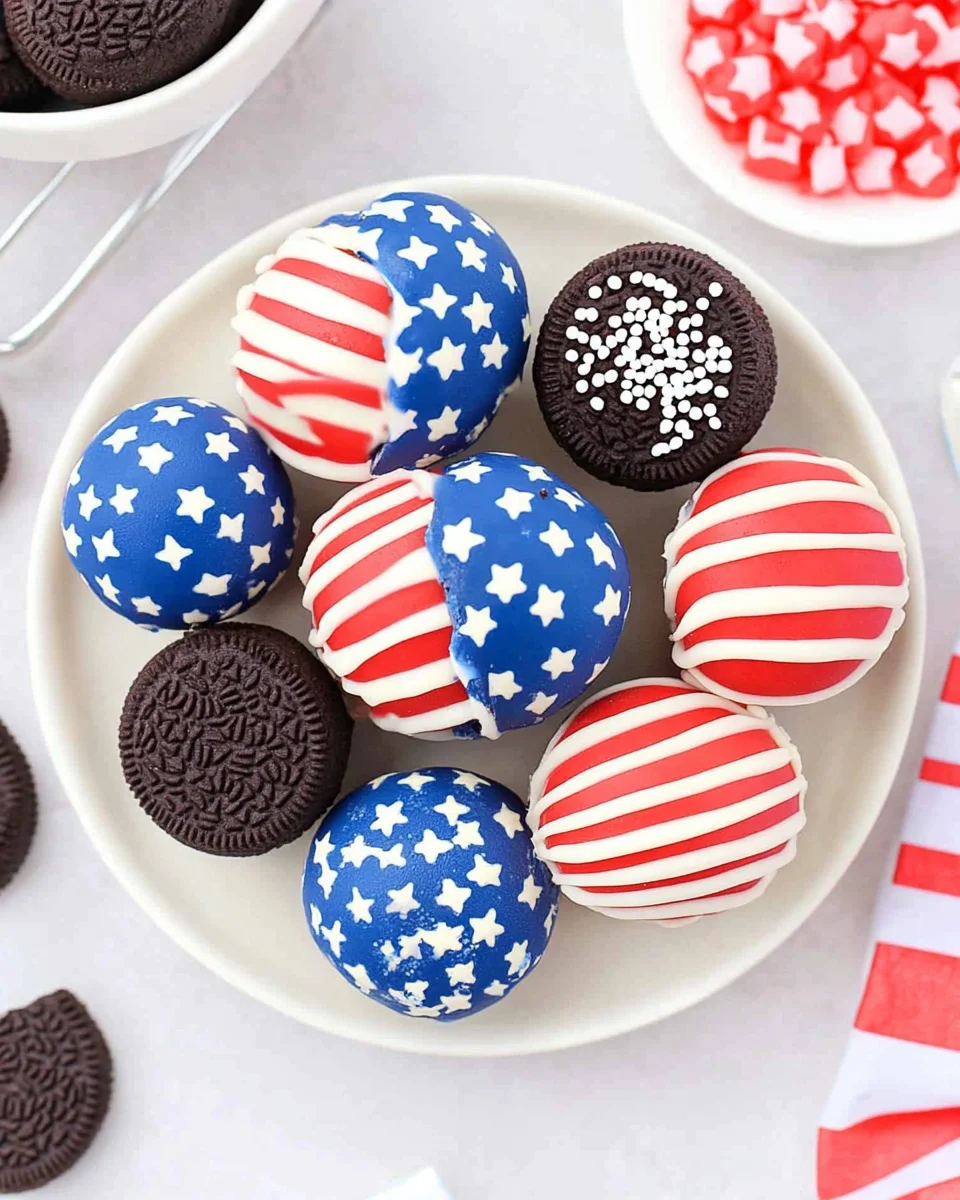
These 4th of July Oreo Balls are the ultimate festive treat for summer celebrations! With their vibrant colors and delicious flavors, these no-bake delights make a perfect addition to your Independence Day festivities. They’re easy to whip up and can be enjoyed by all ages, making them a must-have for barbecues, picnics, or family gatherings. Plus, they combine the rich taste of Oreos with creamy cheesecake goodness, ensuring they stand out on any dessert table.
Why You’ll Love This 4th Of July Oreo Balls
These Oreo balls are not only visually appealing but also a breeze to make!
- Easy to Prepare: With simple steps and minimal ingredients, even novice bakers can create these treats.
- Delicious Flavor: The combination of Oreo cookies and cream cheese delivers a rich and satisfying taste.
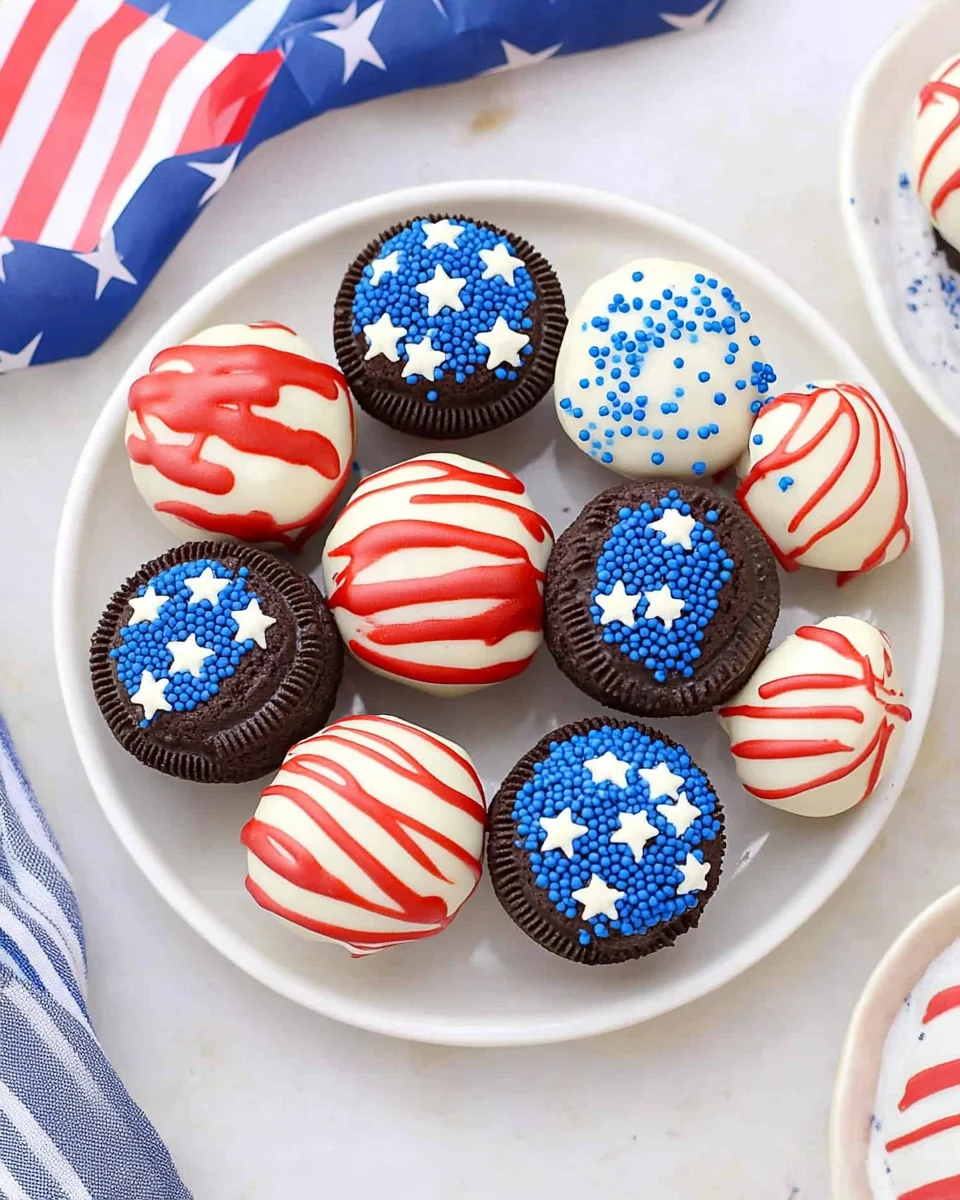
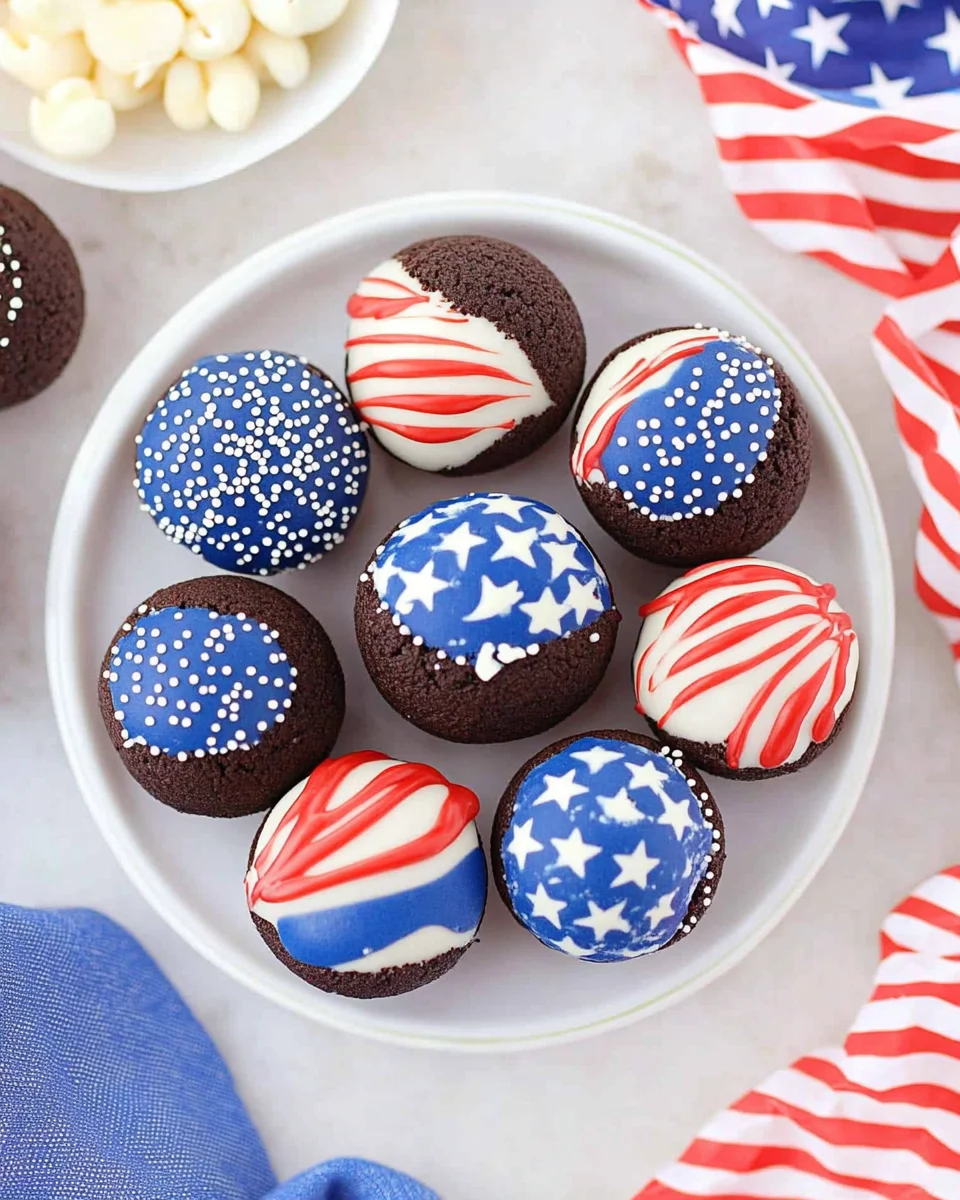
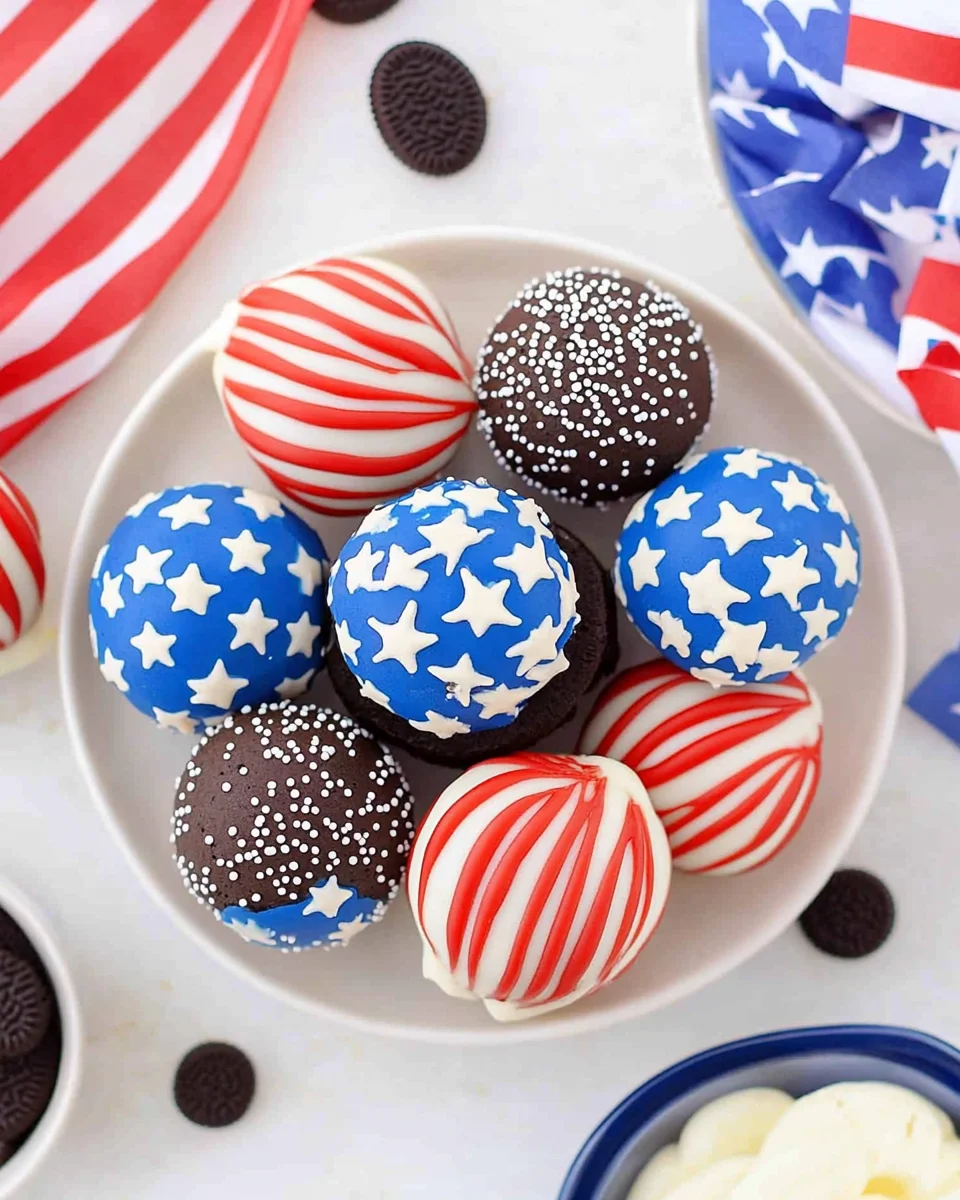
- Patriotic Presentation: The red, white, and blue colors make these Oreo balls an eye-catching treat for any July Fourth celebration.
- Versatile Treat: Perfect for various occasions—birthdays, picnics, or just a sweet snack at home.
- No-Bake Delight: Enjoy this chilled dessert without the need for baking, keeping your kitchen cool in the summer heat.
Tools and Preparation
To make your 4th of July Oreo balls seamlessly, you’ll need some key tools.
Essential Tools and Equipment
- Mixing bowl
- Food processor
- Baking sheet
- Parchment paper
- Microwave-safe bowl
Importance of Each Tool
- Mixing bowl: Essential for combining ingredients smoothly.
- Food processor: Makes crushing Oreos into fine crumbs quick and easy.
- Baking sheet: Provides a flat surface to chill your finished Oreo balls.
Ingredients
For the Oreo Mixture
- 1 lb Oreo Cookies (2.12 oz Family Size package)
- 8 ounces Cream cheese (softened to room temperature)
For the Coating
- 12 ounces Blue candy melts
- 12 ounces Red candy melts
- ⅓ cup White melting wafers
For Garnish
- White star confetti sprinkles for topping
How to Make 4th Of July Oreo Balls
Step 1: Crush the Oreos
Begin by placing the Oreo cookies in a food processor. Pulse until they reach a fine crumb texture.
Step 2: Mix with Cream Cheese
In a mixing bowl, combine the crushed Oreos with softened cream cheese. Stir until fully incorporated and form a thick mixture.
Step 3: Chill the Mixture
Using your hands, roll the mixture into small balls about 1 inch in diameter. Place them on a baking sheet lined with parchment paper. Refrigerate for about 30 minutes until firm.
Step 4: Melt the Candy Coatings
In separate microwave-safe bowls, melt the blue candy melts and red candy melts according to package instructions. Be sure to stir well until smooth.
Step 5: Coat the Balls
Dip each chilled ball into the melted candy coating using a fork. Allow excess coating to drip off before returning them to the parchment-lined baking sheet.
Step 6: Add Finishing Touches
While still wet, sprinkle white star confetti over each ball for that festive look. Let them set completely at room temperature or refrigerate until hardened.
Now you have deliciously patriotic 4th of July Oreo Balls ready to impress at your next gathering!
How to Serve 4th Of July Oreo Balls
These delightful 4th of July Oreo balls are perfect for any summer gathering or holiday celebration. They not only taste amazing but also add a festive touch to your dessert table.
Individual Treats
- Serve each Oreo ball in a mini cupcake liner for an elegant and easy-to-handle presentation.
Group Platter
- Arrange the Oreo balls on a large platter, alternating colors for a visually appealing display that guests will love.
Ice Cream Pairing
- Offer these treats alongside vanilla or strawberry ice cream for a delicious dessert combination that complements the flavors.
Party Favors
- Package individual Oreo balls in clear bags tied with red, white, and blue ribbons as sweet party favors for your guests.
Dessert Bar
- Set up a DIY dessert bar where guests can customize their 4th of July Oreo balls with extra toppings like crushed nuts or additional sprinkles.
How to Perfect 4th Of July Oreo Balls
Creating the perfect 4th of July Oreo balls requires some attention to detail. Follow these tips for a successful treat!
- Use softened cream cheese: Ensure your cream cheese is at room temperature for smooth mixing and better texture.
- Crush Oreos finely: The finer the cookie crumbs, the easier it will be to form and shape your Oreo balls without them falling apart.
- Chill before dipping: Refrigerate the formed balls for at least 30 minutes before dipping them in candy melts to help maintain their shape.
- Melt candy properly: Use a microwave or double boiler to melt your candy melts evenly. Stir frequently to avoid overheating.
- Add festive touches: Incorporate star confetti sprinkles on top for that extra patriotic flair that will impress your guests.
Best Side Dishes for 4th Of July Oreo Balls
Pairing side dishes with your 4th of July Oreo balls can enhance the overall experience. Here are some great options:
- Grilled Corn on the Cob: Sweet and smoky, grilled corn makes a perfect summer side dish.
- Potato Salad: A classic choice that pairs well with any BBQ meal, bringing creamy goodness to your plate.
- Coleslaw: This crunchy salad adds a refreshing contrast to rich desserts like Oreo balls.
- Fruit Salad: Bright and colorful, fruit salad offers a light option that balances out indulgent treats.
- Caprese Skewers: Fresh mozzarella, basil, and tomatoes on skewers create a tasty bite-sized dish that’s easy to enjoy.
- Deviled Eggs: These savory bites are always a hit at gatherings and complement sweet desserts perfectly.
Common Mistakes to Avoid
Making 4th of July Oreo balls can be fun, but there are a few common mistakes to watch out for. Here are some tips to ensure your treats turn out perfectly.
- Using cold cream cheese: Always let your cream cheese soften to room temperature before mixing. This ensures a smooth and creamy filling.
- Not crushing Oreos finely enough: For the best texture, crush the Oreos into fine crumbs. Large chunks can make it difficult to form balls.
- Skipping the chilling step: Don’t forget to chill the mixture before rolling it into balls. This keeps them firm and easier to dip in chocolate.
- Overheating candy melts: Melt candy melts carefully using a microwave or double boiler. Overheating can cause them to seize up and become unusable.
- Neglecting toppings: Adding sprinkles or decorations is key for a festive look. Don’t skip this step for that perfect 4th of July touch!
Storage & Reheating Instructions
Refrigerator Storage
- Store your 4th of July Oreo balls in an airtight container.
- They will stay fresh for up to one week in the fridge.
Freezing Instructions
- Place Oreo balls in a single layer on a baking sheet before freezing.
- Once frozen solid, transfer them to a freezer-safe bag or container.
- They can be frozen for up to three months.
Reheating Instructions
- Oven: Preheat your oven to 350°F (175°C). Place the Oreo balls on a baking sheet for about 5-10 minutes, just until warmed through.
- Microwave: Heat one or two Oreo balls on a microwave-safe plate for about 10-15 seconds. Be careful not to overheat.
- Stovetop: You can also use a saucepan on low heat. Just place the Oreo balls in the pan and cover it with a lid until warmed.
Frequently Asked Questions
Here are some common questions about making and storing 4th of July Oreo balls.
How long do 4th Of July Oreo Balls last?
They typically last about one week in the refrigerator when stored properly.
Can I customize my 4th Of July Oreo Balls?
Absolutely! You can change the colors of candy melts or add other toppings like nuts or coconut flakes.
Are 4th Of July Oreo Balls suitable for kids?
Yes! These no-bake treats are kid-friendly and perfect for family gatherings.
What can I use instead of candy melts?
You can substitute chocolate chips if you prefer, but they may not achieve the same vibrant colors.
Can I make these ahead of time?
Yes! You can prepare them a day or two in advance and store them in the fridge until serving.
Final Thoughts
These 4th of July Oreo balls are not only easy to make but also versatile. You can customize them with different colors or toppings, making them perfect for any summer celebration. Try this delightful recipe at your next gathering and impress your friends with these patriotic treats!

4th of July Oreo Balls
- Total Time: 0 hours
- Yield: Approximately 24 servings 1x
Description
Celebrate Independence Day with these delightful 4th of July Oreo Balls! Bursting with festive red, white, and blue colors, these no-bake treats are a hit for summer gatherings. Made with crushed Oreos and creamy cheesecake filling, they are easy to prepare and perfect for all ages. Whether you’re hosting a backyard barbecue or attending a picnic, these Oreo balls are sure to impress your guests. With minimal effort and maximum flavor, they bring a playful touch to your dessert table while satisfying sweet cravings. Get ready to indulge in this fun and festive treat!
Ingredients
- 1 lb Oreo Cookies
- 8 ounces Cream cheese (softened)
- 12 ounces Blue candy melts
- 12 ounces Red candy melts
- ⅓ cup White melting wafers
- White star confetti sprinkles (for garnish)
Instructions
- Crush the Oreo cookies in a food processor until fine crumbs form.
- In a mixing bowl, combine crushed Oreos with softened cream cheese until smooth.
- Roll the mixture into 1-inch balls and place on a parchment-lined baking sheet. Chill in the refrigerator for 30 minutes.
- Melt the blue and red candy melts separately according to package instructions.
- Dip each chilled ball into the melted candy coating and allow excess to drip off before placing back on the baking sheet.
- While still wet, sprinkle white star confetti over each ball. Let set completely.
- Prep Time: 15 minutes
- Cook Time: None
- Category: Dessert
- Method: No-Bake
- Cuisine: American
Nutrition
- Serving Size: 1 Oreo ball (25g)
- Calories: 110
- Sugar: 10g
- Sodium: 60mg
- Fat: 5g
- Saturated Fat: 2.5g
- Unsaturated Fat: 2g
- Trans Fat: 0g
- Carbohydrates: 15g
- Fiber: 0g
- Protein: 1g
- Cholesterol: 5mg

